

New in v1.2: Plugin support. You can now install compatible plugins for your version. Also you can change the delivery cost.
New in v1.3: You can now accept orders from all countries. Alphabetising the product listing on the home page, as well as most recent order. Choosing how many products are shown on the homepage. Support for auto pagination on the home page.
New in v1.4: Support for Moneybookers as a payment processor.
New in v1.5: PHP7 compatibility, Responsive design for themes and admin panel. Minor bug fixes. Improved security. Fixed installer. Import customers as CSV for mailing lists.
This manual will cover everything that Cartcake can do, and provide a suitable guide of how to get started.
You can return to where you previously was, by navigating the contents on the left.
This manual will assume that Cartcake is already installed.
If it is installed, you'll be able to go to the admin panel via the /admin address. That is whereever you installed Cartcake, with /admin at the end.
So if you installed Cartcake at mysupershop.com, the admin panel for Cartcake would be mysupershop.com/admin.
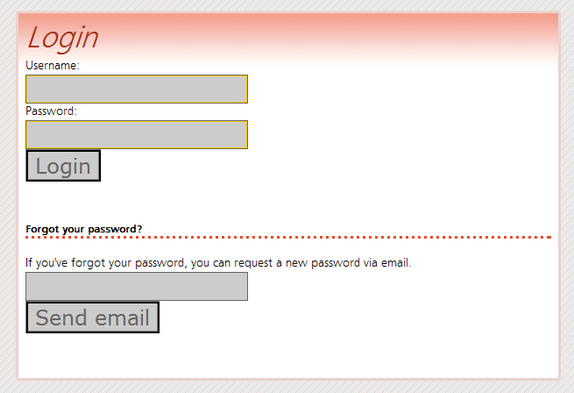
When you try to access the admin panel, you should see something like this.
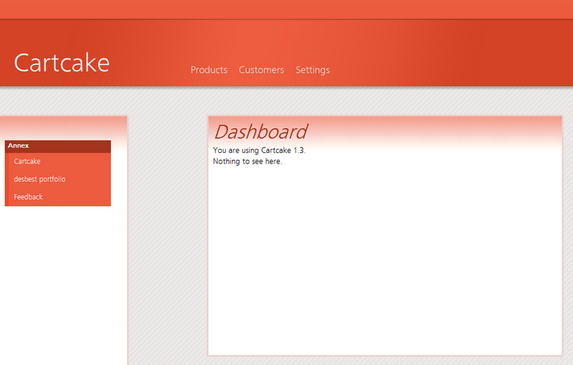
When you are finally are logged in, you should see something like this.
If you have just installed Cartcake and/or your site is blank, the first thing you should do is change the settings. If you create products and have them on sale, with wrongly configured settings, this will cause you problems later on that you will not want.
Once you're on the settings page, you'll see a bunch of things that'll need changing, which can be confusing if you don't know what will happen once you've changed those settings. Those settings will now be explained in their entirety.
Firstly the miscellaneous settings will be explained.
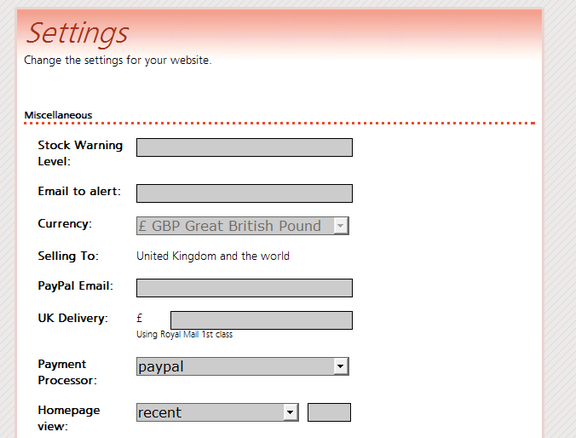
Stock Warning Level specifies the minimum amount of stock you want your products to have, until you are emailed about low stock. If any of your products fall to reach this number in stock, you will be emailed about it.
Email to alert is the email that will be emailed once products are low on stock. This is NOT the email that will receive emails of when customers make new orders. That email is below.
PayPal/Payment Processor Email is where you specify the email that you use with your payment processor. If you're using PayPal, that is your PayPal email. The money your customers to purchase products, will be sent there, so make sure that it's correct!
Payment Processor is where you choose which payment processor you want to accept payments with. Customers will pay you with whatever payment processor you choose, and you'll receive payments that way to. Do not choose the PayPal sandbox for a live website, is that is for when developers want to test payments. If you choose the PayPal Sandbox, the payment process will consist of ficticious play money, of which only play sandbox accounts will be allowed to make purchases, not real PayPal accounts. Only PayPal and Moneybookers are supported at this current time. Contact Heroes For Hire if you would like more payment processors. If you would like to disable payments on your site, use the PayPal Sandbox. Daopay and OKPay other alternative payment processors to PayPal, and Cartcake only supports PayPal and Moneybookers. Be careful! PayPal is notorious for freezing funds for 6 months of accounts of their choosing that gets over a certain amount of money in the account. Moneybookers is notorious for taking money out of unused accounts as part of their inactivity fee.
Homepage view is where you choose how you want to sort the products on the home page, and how many products you want to show on the home page. Make sure you type a number into the second box. Don't leave it blank!
Secondly it's time for the design settings.
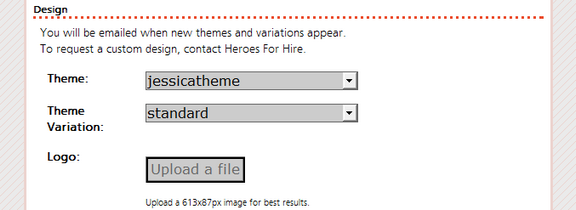
Theme is for changing the theme. The default theme is panorama.
Theme variation is for choosing which variation (CSS stylesheet) you want the theme to have. Not all themes have variations.
Logo is for uploading the site's logo. The image dimensions of the image can be changed by editing the XML file inside your current theme's folder. If uploading doesn't work, refer to the User Guide and scroll down to read the FAQ.
Now for some other settings.
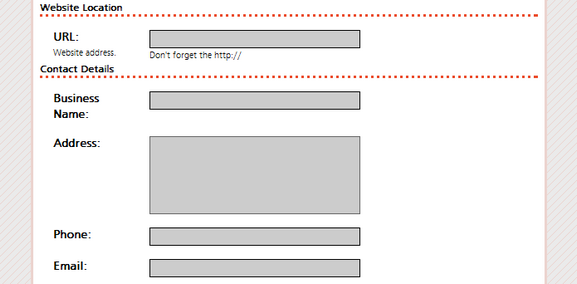
Url Here is where you enter the website address of your shopping site. Don't forget the http:// Make sure you have this correct, as this will be used inside emails sent to your customers, and other such things.
Finally for the custom content settings.

Welcome Text or HTML for the home page.
Help page Text for the help page.
Tracking HTML code for all pages that is placed before the </body> tag. This is good for placing web analytics code.
Conversions HTML code for once an order is successfully executed. If you know what affiliate marketing is, you'll know exactly what this setting is for.
Cartcake has support for plugins, which provide extra functionality or modifications to the original Cartcake script, without actually modifying the Cartcake code itself - leaving the original script intact. Whatever functionality or modifications a plugin provides, is disabled once that plugin is disabled, ready to be enabled again once that plugin is enabled again. The purpose of plugins is to allow extra functionality and modifications to be available for Cartcake, without having the original script being 9000MB.
The benefit of this is that it keeps coding things simple for the web developers that actually code the Cartcake script, whilst the other web developers can create functionality and modifications for Cartcake that the original developers don't have the time or will to create.
On the left hand side there is a link to the plugins page. If you have installed any plugins installed, this will be of use to you.
Once you are on the plugins page, you should see something like this.
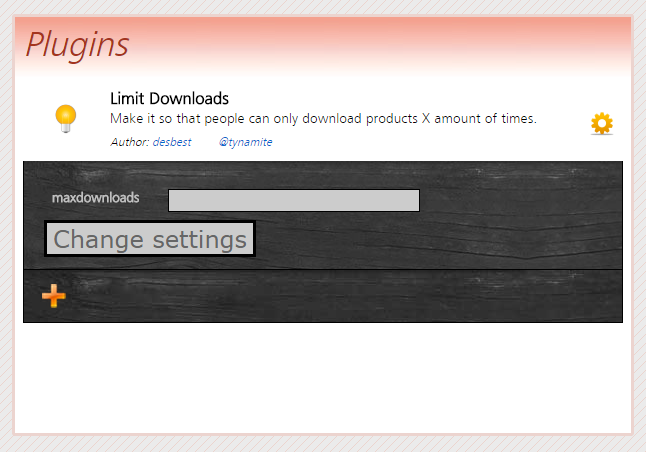
New installations of Cartcake don't come with any plugins, so you can click the add button to find new plugins.
Once you have a plugin uploaded, you'll see it listed on the plugins page with the light bulb turned off. You can click the light bulb to turn plugins on and off. Clicking it for the first time will install the plugin.
When plugins are installed, you can edit their settings by clicking its corresponding cog button. It is important that you edit a plugin's settings straight away after installing it.
If you are unsure what a plugin's settings does, refer to the author's website and look for the web page that hosts the plugin there. If you need any more help with plugins, contact the person on Twitter.
What you type into a plugin's settings is not currently validated in version 1.0.4, so if you break anything by typing anything wrong, that is your fault.
Once you've happily changed all your settings, the next step is to add products to your store. You are going to want to know what you're doing, as you're doing this. If you get this wrong and have to delete your product because of it, you're not going to be happy.
If you have an empty website, when you access your products page, you should see something like this.
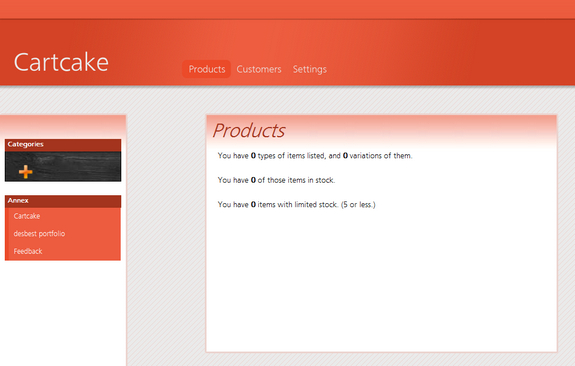
You cannot add any products on this page, only in categories, so you'll have to use the add icon to add a new category, to house your first product.
Once you have a new category setup, you should see something like this.
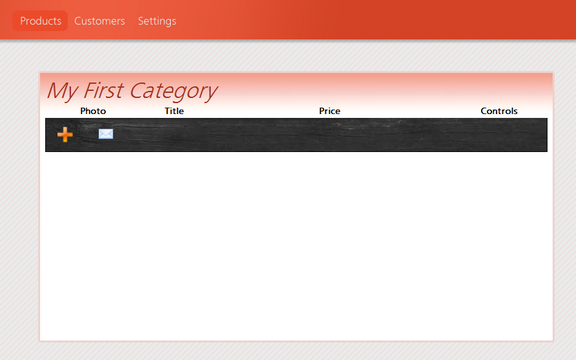
You can be confident enough to click the add button, to type in your product name and price. Go ahead! It won't bite.
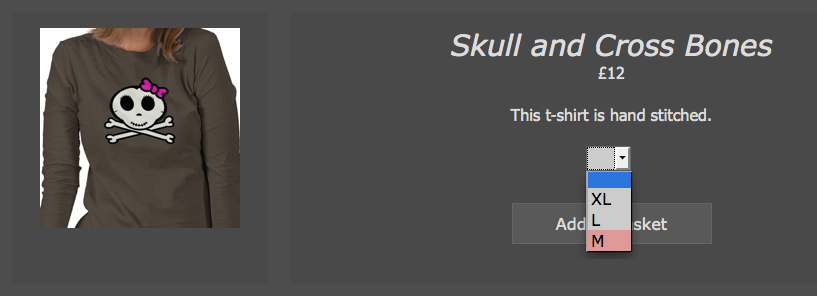
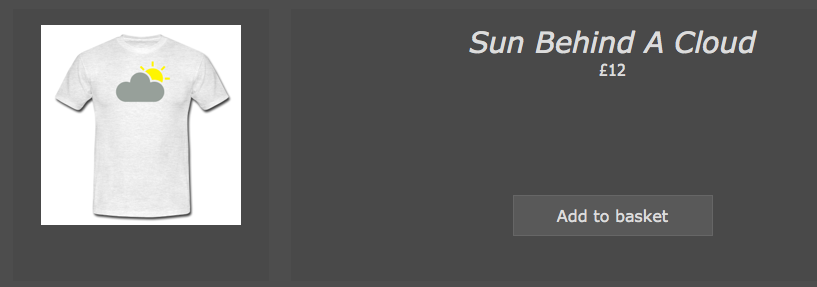
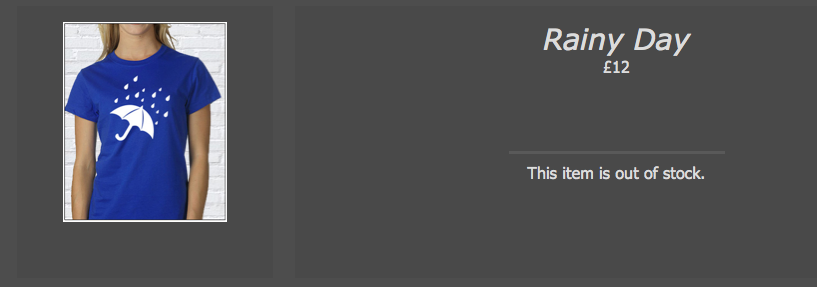
What you are about to read next, is the most confusing part of Cartcake, and you might be completely confused by it. If you don't get it at first, be sure to look at the images again, and try to figure out what correlates the products in the admin panel, to how they are presented on the shopping website.
On some other shopping websites, you may find variations (of products, think catalogue fashion stores) to have different images, different prices, but the same product description, for the same product. Cartcake doesn't. With Cartcake, variations aren't anything but a word. If there is only one variation, the product is treated as having none. Also, a product must have a variation to be sold. Below are some images to illustrate this.
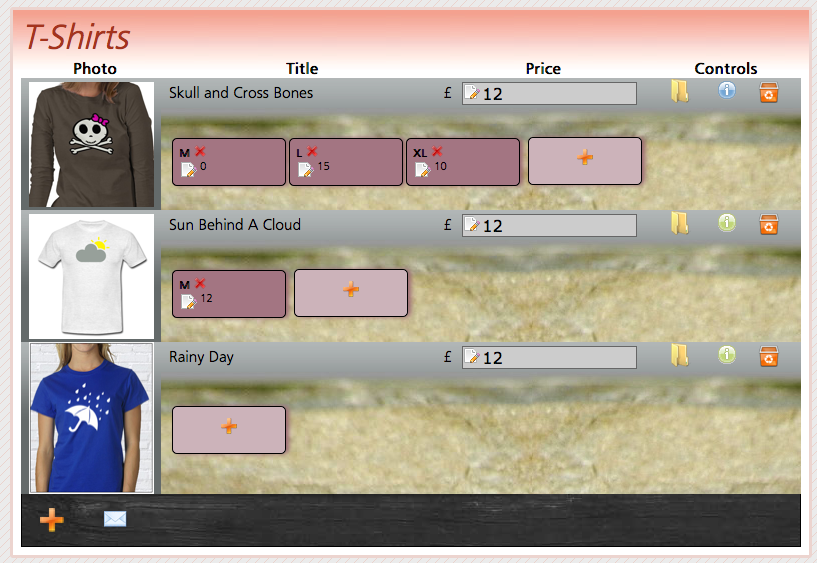
Everything else should be self explanatory. ;)
Whenever products are low on stock, the email specified under Email to alert is emailed.
After your customers make orders, the email specified under Email is emailed.
If you have configured the settings correctly, you will (or should have) received emails once your customers have made orders. If this does not happen, check your email logs records before wondering if it's a bug in the script. If you have cpanel, you'll find it under "email logs".
When you have had new orders made recently, you should see something like this.
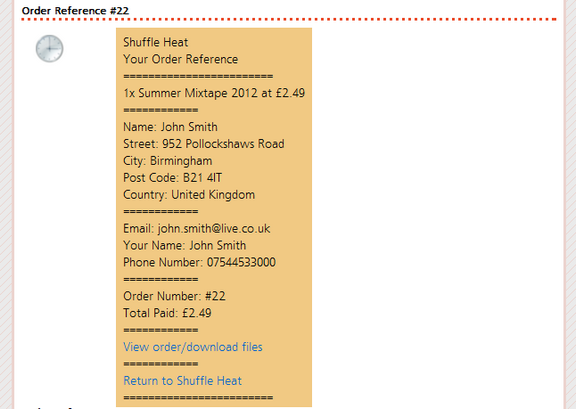
If you click the clock icon, the item will be marked as dispatched and will go green.
The End!
This is either because your webhost's firewall, is using rules that are too strict, making the ajax uploader not work, or because certain .htaccess files need to be wiped out for certain conditonal rules (designed for firewalls) not working (for being blocked).
The first thing you should do is go to admin/fileuploader/server/ make the .htaccess file uncommented, by removing the hashes. This will cancel the Error 500 Internal Server error for SecRuleEngine not allowed here that stops the server/ folder from being displayed in a web browser.
Try uploading again, to see if the problem is now fixed. If it's still not working, follow these instructions...Comment the .htaccess file again, so put back those hashes!.
If you're using mod_security, ask your webhost to turn it off for your domain, or you can check which rules are violated.
If you're using Suhosin, you can check violated rules here, by turning on simulation mode.
The workaround is to upload using the web browser, and then use ftp to place that file inside the uploads/ folder afterwards.
What happens when I click dispatch this? What if if it's virtual items?
The order will be marked as dispatched, to say that you've sent it.
If the order only has virtual items and you click dispatch this, nothing will happen.
